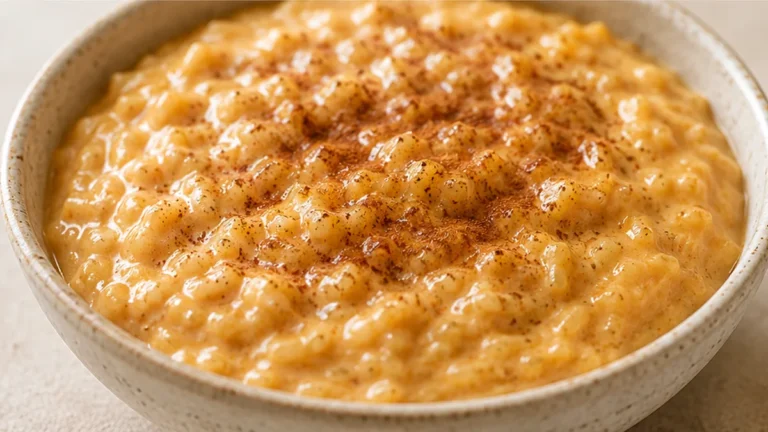
This gluten-free banana pudding is a showstopper, offering all the creamy, dreamy indulgence of the classic dessert without the gluten. If you’ve been searching for a reliable recipe that delivers incredible flavor and texture, your quest ends here. This recipe is perfect for family gatherings, potlucks, or simply treating yourself to a slice of heaven. We’ve perfected the art of creamy pudding and tender bananas, complemented by the satisfying crunch of homemade gluten-free vanilla wafers. Get ready to impress everyone with this comforting and delicious banana pudding.
Key takeaways
- The key to creamy texture is properly softened cream cheese and whipped heavy cream.
- Proper chilling and layering prevent sogginess and mushiness.
- Substitutions can be made, but may alter texture and flavor.
- Ensure gluten-free ingredients are certified to avoid cross-contamination.

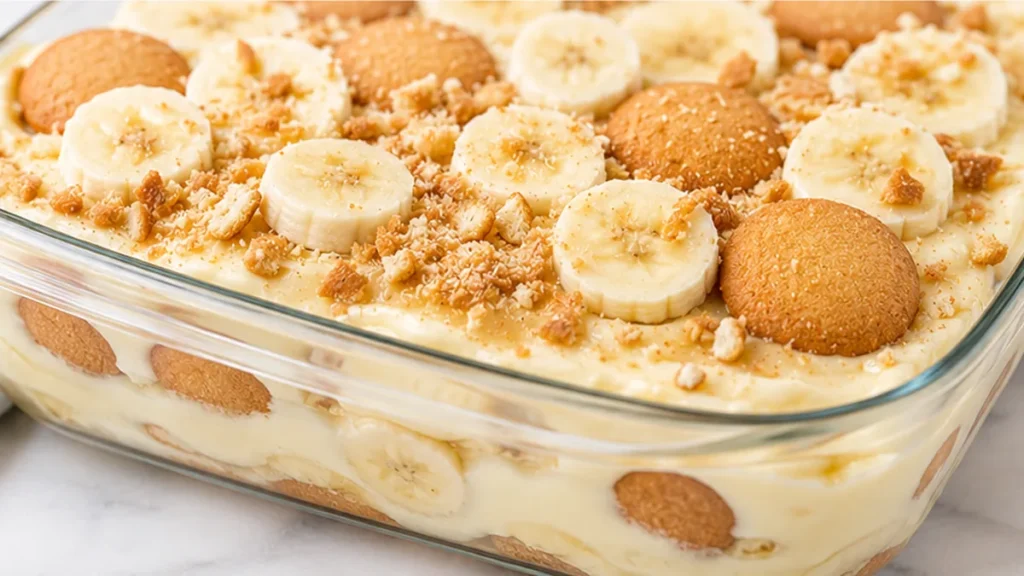
Unbelievably Creamy Gluten-Free Banana Pudding!
Ingredients
Method
- In a large bowl, whisk together the gluten-free instant vanilla pudding mix, whole milk, softened cream cheese, sweetened condensed milk, and vanilla extract until smooth and creamy. Use an electric mixer for best results.
- In a separate bowl, whip the heavy whipping cream and powdered sugar until stiff peaks form. Be careful not to overmix.
- Gently fold the whipped cream mixture into the pudding mixture until just combined. Be careful not to deflate the whipped cream.
- Arrange a layer of sliced bananas at the bottom of your serving dish (a 9×13 inch dish works well).
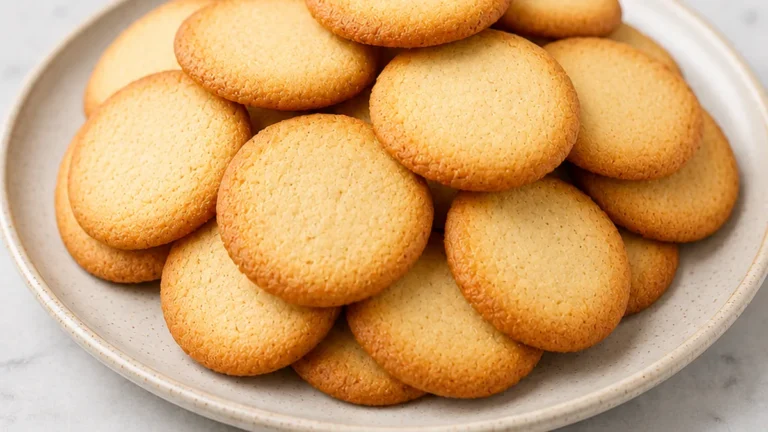
- Top the banana layer with a layer of gluten-free vanilla wafers. Break them if needed to fit.
- Pour half of the pudding mixture over the wafers. Repeat layers of bananas, wafers, and then the remaining pudding mixture. Chill for at least 4 hours, or preferably overnight, before serving.
Notes
– Ensure cream cheese is fully softened for a smooth, lump-free pudding.
– Chill the pudding for at least 4 hours to allow the flavors to meld and the texture to set properly.
– For an extra layer of flavor, consider adding a sprinkle of cinnamon on top before serving. Allergens: Milk, Eggs, Wheat, Soybeans. Nutrition information is an estimate, calculated automatically. Values vary with brands, substitutions and portion sizes.
The technique that makes it
The secret to this unbelievably creamy gluten-free banana pudding lies in a few key techniques that rounds out it beyond a simple mix-and-chill dessert. Firstly, the use of softened cream cheese is crucial. Cream cheese, when softened, emulsifies seamlessly with the liquids, creating a richer, smoother base than pudding made with just milk. This adds a luxurious mouthfeel and a subtle tang that balances the sweetness. Secondly, whipping the heavy cream separately with powdered sugar and vanilla extract to stiff peaks before folding it into the pudding mixture is paramount. This aeration incorporates air, making the pudding light and fluffy, preventing it from becoming dense or heavy. The powdered sugar also dissolves more easily into cold cream than granulated sugar, ensuring a smooth texture. Finally, the layering technique is important for texture. Allowing the pudding to set slightly before adding the banana and wafer layers helps prevent the bananas from becoming mushy and the wafers from disintegrating too quickly, maintaining distinct textural elements in every bite.
Troubleshooting
- Pudding is too thin: Ensure the gluten-free instant pudding mix was fully incorporated and allowed to set for the recommended time. If it’s still too thin after chilling, the cream cheese may not have been fully softened, hindering proper thickening. Try gently reheating a small portion of the mixture with a bit more pudding mix and re-incorporating, or allow for an extended chilling period.
- Pudding is lumpy: Lumps usually indicate the cream cheese wasn’t fully softened or was beaten too vigorously, causing it to break. Try whisking vigorously or using an immersion blender on a low setting to break up any remaining lumps. Ensure all ingredients are at the correct temperature as specified.
- Bananas are mushy: This can happen if the pudding is too warm when the bananas are added, or if the pudding is assembled too far in advance. Slice bananas just before assembling and allow the pudding base to chill and thicken adequately before layering.
- Wafers are soggy: While some softening is expected, excessive sogginess means the pudding was too wet or assembled too early. Ensure the pudding mixture is thick and has set properly. Consider adding a final layer of wafers on top just before serving for a crispier texture.
Substitutions
- Gluten-free vanilla wafers: If gluten-free vanilla wafers are unavailable, you can substitute with gluten-free shortbread cookies or even crushed gluten-free graham crackers. The texture will be slightly different, but the flavor profile will remain complementary. Expect a slightly coarser texture with graham crackers.
- Whole milk: While whole milk provides the richest base, you can use 2% milk. However, using lower-fat milk might result in a slightly less creamy pudding. Avoid non-dairy milks as they may not thicken properly with instant pudding mixes designed for dairy.
- Sweetened condensed milk: If you absolutely cannot find sweetened condensed milk, you could try using evaporated milk combined with granulated sugar, but this requires careful calculation of sugar amounts and may alter the pudding’s texture and sweetness significantly. It’s best to stick to the original ingredient for optimal results.
- Cream cheese: For a dairy-free version, a dairy-free cream cheese alternative can be used, but ensure it is a brand known for its smooth texture and neutral flavor. The consistency might vary slightly.
Pro tips
- Use very ripe bananas for the best sweetness and flavor.
- Ensure cream cheese is fully softened for a smooth, lump-free pudding.
- Chill the pudding for at least 4 hours to allow the flavors to meld and the texture to set properly.
- For an extra layer of flavor, consider adding a sprinkle of cinnamon on top before serving.
Enjoy this delightful gluten-free banana pudding as a perfect ending to any meal. It’s a truly comforting dessert that everyone will love.
Try this next: Decadent Dairy-Free Chocolate Pudding!
More from Gluten-Free Desserts & Sweets →
Frequently asked questions
Can I make gluten-free banana pudding ahead of time?
Yes, you can prepare gluten-free banana pudding a day in advance. Assemble the pudding and refrigerate it. For best results, add the banana slices and vanilla wafer layers just before serving to prevent them from becoming soggy. This ensures a fresh texture and appearance.
What kind of gluten-free vanilla wafers are best for banana pudding?
Look for gluten-free vanilla wafers specifically designed to hold their shape. Brands like Schär or Kinnikinnick often work well. Avoid wafers that are too crumbly or delicate, as they can break down too quickly in the pudding. Check reviews for sturdiness.
How do I store leftover gluten-free banana pudding?
Store any leftover gluten-free banana pudding in an airtight container in the refrigerator. It should stay fresh for up to 2-3 days. It’s best to store it without the banana slices and wafers if possible, adding them when you serve again.
Can I substitute regular milk for the dairy-free milk in banana pudding?
Yes, you can absolutely substitute regular dairy milk for dairy-free milk in this recipe. The creamy texture will be similar. If you have a dairy allergy or intolerance, stick with a plant-based milk like almond, soy, or coconut milk.