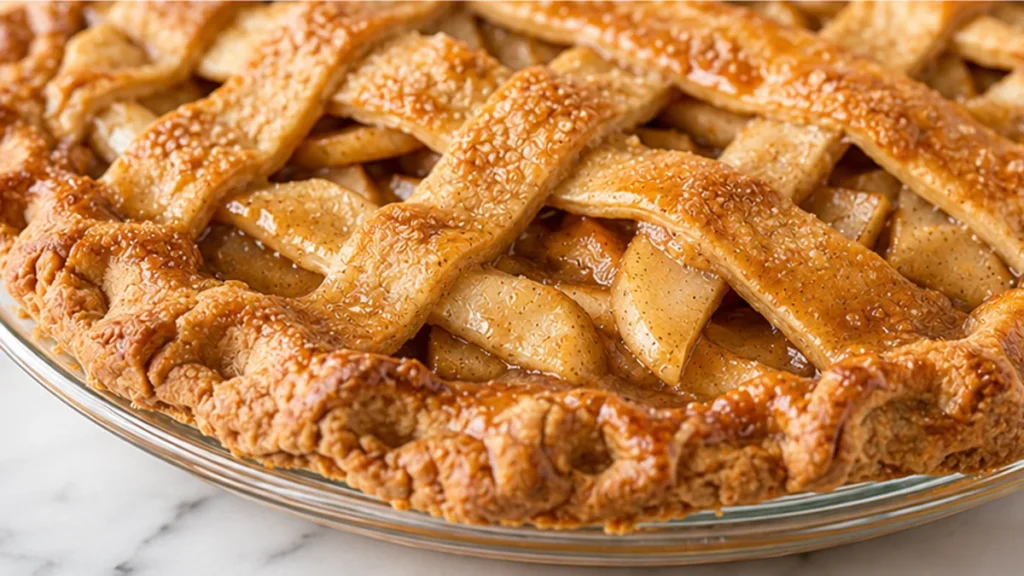
The quest for the perfect gluten-free apple pie ends here. This recipe delivers a classic dessert experience with a flaky crust and sweet, spiced apple filling, all without the gluten. Crafted for those who crave comforting flavors but require a gluten-free option, this apple pie is surprisingly easy to make and results in a truly satisfying treat. It’s a testament to how delicious gluten-free baking can be.
Key takeaways
- Use a mix of tart and sweet-tart apples for balanced flavor and texture.
- Uniformly slice apples and ensure proper thickening with gluten-free flour.
- Allow the pie to cool completely for at least 2-3 hours to set the filling.
- Bake at a higher initial temperature, then reduce to ensure a cooked filling and golden crust.
Gluten-Free Apple Pie Recipe Perfection!
Ingredients
Method
- In a large bowl, toss the sliced apples with lemon juice, vanilla extract, GF all-purpose flour, granulated sugar, brown sugar, cinnamon, nutmeg, and salt for 1 minute to coat evenly.
- Pour the apple mixture into a 9-inch pie plate and spread evenly.
- Prepare the top crust and place it over the apples, then crimp the edges to seal.
- Cut 4-5 vents in the top crust to allow steam to escape.
- Whisk 1 large egg with 1 tablespoon of water and brush it over the top crust.
- Bake in a preheated oven at 375°F (190°C) for 45-55 minutes, until the crust is golden brown and apples are tender.
Notes
– Ensure your gluten-free flour blend is suitable for baking pies.
– Let the pie cool completely before slicing to allow the filling to set properly. Allergens: Milk, Eggs, Wheat. Nutrition information is an estimate, calculated automatically. Values vary with brands, substitutions and portion sizes.
The technique that makes it
Achieving a perfect gluten-free apple pie relies on a few key techniques, particularly concerning the apple filling and crust integration. For the filling, the choice of apples is crucial. A blend of tart (like Granny Smith) and sweet-tart (like Honeycrisp) provides a balanced flavor profile and varied texture. Slicing the apples uniformly to ¼-inch thickness ensures even cooking. The gluten-free flour, acting as a thickener, needs to be properly incorporated. Whisking it with the sugars and spices before adding to the apples helps prevent clumps and ensures a smooth, thickened filling. The lemon juice not only adds brightness but also helps the apples retain some of their structure and color during baking. The egg wash is vital for achieving a golden-brown, appealing crust. Ensure the crust is fully sealed to prevent the filling from bubbling out excessively during the high heat of baking.
The baking temperature and duration are also critical. Starting at a higher temperature (around 425°F or 220°C) for the initial 15-20 minutes helps set the crust and begin the cooking process for the apples. Reducing the temperature to 375°F (190°C) for the remaining 30-40 minutes allows the apples to soften and the filling to thicken without the crust burning. Tent the pie with foil if the crust begins to brown too quickly. Allowing the pie to cool completely for at least 2-3 hours before slicing is paramount. This resting period allows the gluten-free thickeners to fully set, preventing a runny filling and ensuring clean slices.
Troubleshooting
- Problem: Runny Filling
Fix: Ensure apples are not over-processed during slicing. Allow the pie to cool completely for at least 2-3 hours before serving. If still too thin, a small amount of additional gluten-free flour or cornstarch mixed with a little cold water can be gently stirred into the filling after baking and re-heated briefly (though this is best avoided by proper cooling). - Problem: Soggy Bottom Crust
Fix: Pre-bake the bottom crust for 10-15 minutes before adding the filling. Ensure the oven temperature is accurate and consistently maintained. Baking on the lowest oven rack can also help the bottom crust cook through more effectively. - Problem: Burnt Crust
Fix: Tent the edges of the pie with aluminum foil as soon as they start to brown too quickly. Reduce the oven temperature slightly in the last 20-30 minutes of baking. - Problem: Dry Filling
Fix: Ensure you use enough apples. The amount of liquid from the apples is crucial. Using a mix of apple varieties can also help maintain moisture. Avoid over-baking.
Substitutions
- Apples: While Granny Smith and Honeycrisp are recommended for balance, you can substitute with other firm, tart apples like Braeburn, Jonagold, or Northern Spy. Softer apples like McIntosh may become too mushy.
- Gluten-Free Flour: If you don’t have a gluten-free all-purpose blend, you can use a mix of 2 tablespoons of rice flour and 2 tablespoons of tapioca starch as a thickener. Ensure your blend contains xanthan gum if it’s not already included.
- Sugars: For a deeper caramel flavor, you can replace some of the granulated sugar with more brown sugar, or use coconut sugar. Adjust sweetness to your preference.
- Spices: A pinch of ground ginger or allspice can be added alongside cinnamon and nutmeg for a more complex spice profile. A touch of cardamom is also a delicious addition.
Pro tips
- Use a mix of apple varieties like Granny Smith and Honeycrisp for the best flavor and texture.
- Ensure your gluten-free flour blend is suitable for baking pies.
- Let the pie cool completely before slicing to allow the filling to set properly.
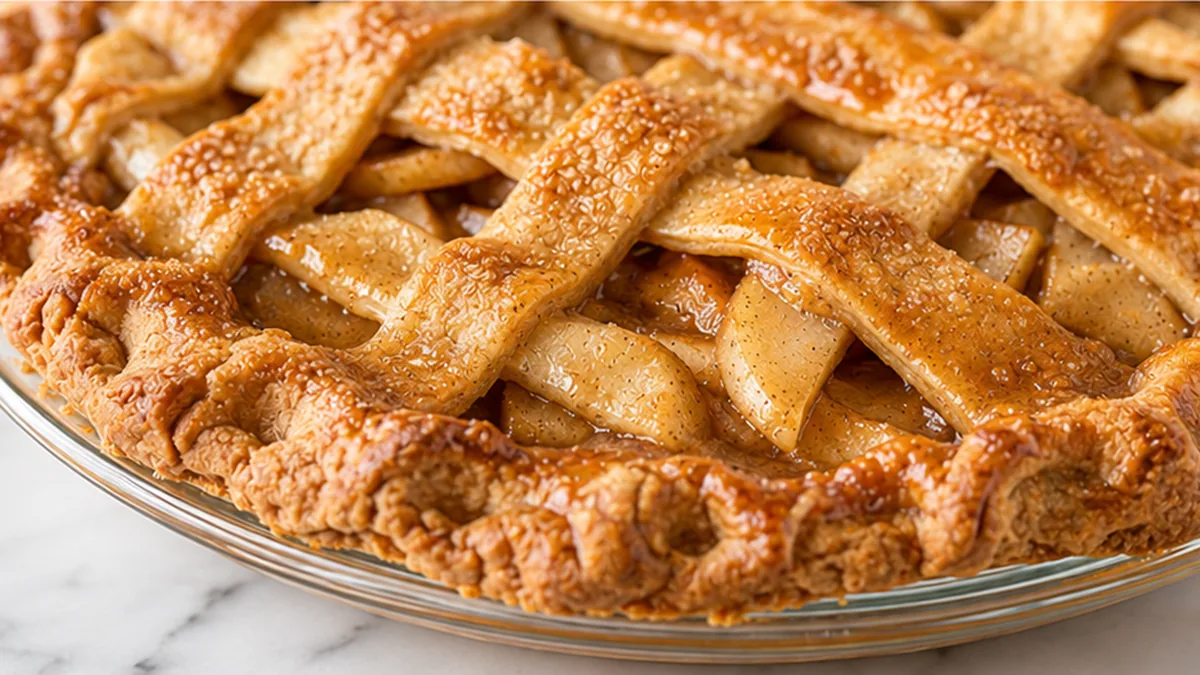
Enjoy this delightful gluten-free apple pie, a perfect ending to any meal. Experiment with a lattice top or crumble topping for a unique twist.
Try this next: The Easiest Apple Pie EVER! (Crustless Magic!)
More from Gluten-Free Desserts & Sweets →
Frequently asked questions
Can I use a different type of apple for gluten-free apple pie?
Yes, you can! For a balanced flavor and texture, use a mix of sweet and tart apples. Good options include Honeycrisp, Gala, Granny Smith, and Fuji. Avoid overly soft apples like Red Delicious, as they can become mushy when baked.
How do I prevent a soggy bottom crust on my gluten-free apple pie?
To prevent a soggy bottom, ensure your crust is well-chilled before baking. Consider blind-baking the bottom crust for about 10-15 minutes before adding the filling. Using a thickener like tapioca starch or cornstarch in your apple filling also helps absorb excess moisture.
Can I make the gluten-free apple pie filling ahead of time?
Yes, you can prepare the apple filling up to 2 days in advance. Store it covered in the refrigerator. When ready to assemble, you might need to add a little extra thickener if the filling seems too watery after chilling. This makes assembly quicker on baking day.
How long does gluten-free apple pie last and how should I store it?
Gluten-free apple pie can be stored at room temperature for up to 2 days or refrigerated for up to 4 days. Cover it loosely with foil or plastic wrap to prevent the crust from becoming too soft. Reheat slices gently in the oven or microwave before serving.