Making your own gluten-free bread crumbs is surprisingly simple and yields a much better texture than store-bought options. This recipe provides the perfect base for all your favorite coatings and toppings, ensuring a delightful crunch without the gluten. Whether you’re preparing chicken cutlets, topping a gratin, or adding a savory crust to a casserole, these homemade bread crumbs are a real upgrade. They are quick to prepare, customizable with seasonings, and a fantastic way to reduce food waste by using up stale bread.
Key takeaways
- Ensure gluten-free bread is thoroughly dried before toasting for optimal crispness.
- Use a moderate oven temperature and a single layer on the baking sheet for even toasting.
- Stir crumbs halfway through toasting and add spices towards the end to prevent burning.
- Customize herbs and spices to your preference for varied flavor profiles.
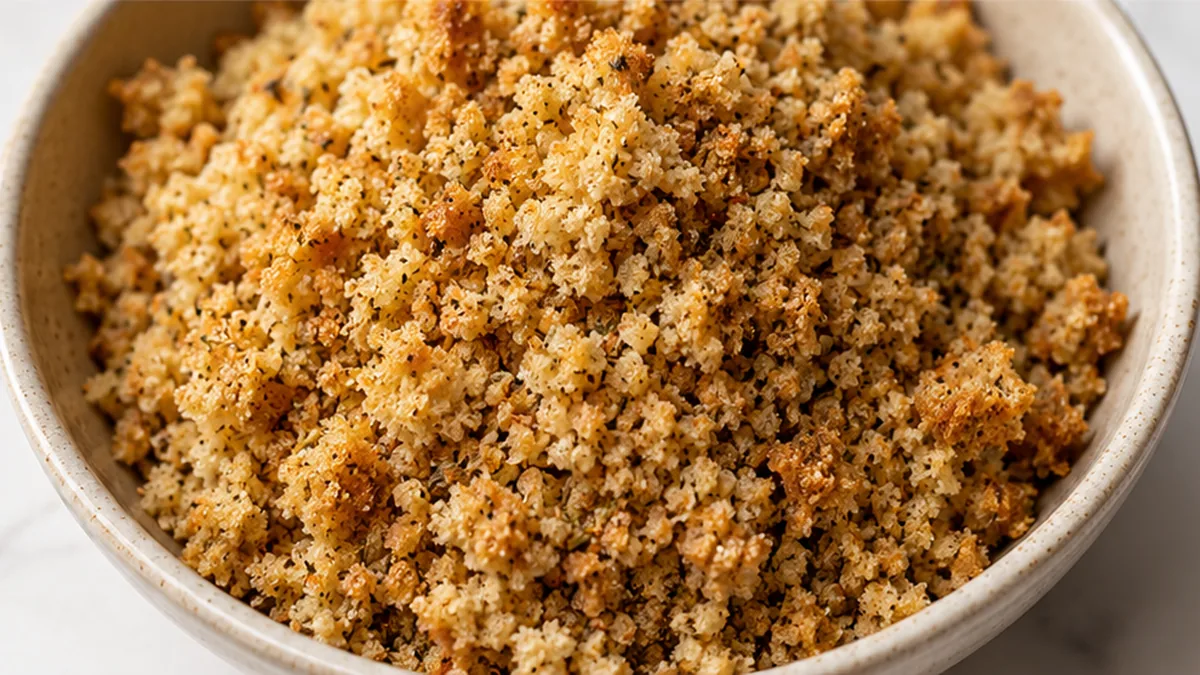
Crispy Gluten-Free Bread Crumbs Recipe
Ingredients
Method
- Preheat your oven to 350°F (175°C).
- Cut your gluten-free bread into roughly 1-inch cubes.
- Spread the cubes evenly on a baking sheet and bake for 10-15 minutes until crisp.
- Let the toasted bread cubes cool completely on the baking sheet for about 10-15 minutes.
- Transfer the cooled cubes to a food processor and process on high for 30 seconds for coarse crumbs or 1 minute for fine crumbs.
- For Italian seasoning, add salt, garlic powder, onion powder, dried oregano, and dried basil to the food processor and pulse briefly.
- For Savory seasoning, add salt, garlic powder, onion powder, dried sage, dried thyme, and dried oregano to the food processor and pulse briefly.
- Store your homemade crumbs in an airtight container at room temperature or freeze for longer storage.
Notes
– Ensure bread cubes are completely cooled before processing to avoid gummy crumbs.
– Pulse in the food processor; avoid over-processing into a fine powder unless desired.
– For Italian seasoning, use equal parts oregano and basil, with a touch of garlic and onion. Nutrition information is an estimate, calculated automatically. Values vary with brands, substitutions and portion sizes.
The technique that makes it
Achieving truly crispy gluten-free bread crumbs hinges on two primary factors: the dryness of the bread and the evenness of the heat application during toasting. Unlike conventional bread, gluten-free varieties can sometimes retain more moisture or have a denser crumb structure, which can lead to steaming rather than toasting if not handled properly. The key is to ensure the bread cubes are thoroughly dried out before toasting. This can be achieved by leaving them at room temperature for several hours, or even overnight, until they feel firm and dry to the touch. This pre-drying step is crucial because it allows the moisture within the bread to evaporate more readily in the oven, promoting a crispier texture. When toasting, a moderate oven temperature, typically around 300-325°F (150-160°C), is ideal. This temperature is high enough to facilitate browning and crisping but low enough to prevent burning before the bread is fully dried. Spreading the bread cubes in a single layer on a baking sheet is also paramount. This ensures that hot air can circulate freely around each piece, promoting uniform drying and toasting. Overcrowding the pan will trap steam and result in unevenly toasted or soggy crumbs. The spices are added towards the end of the toasting process or after toasting to prevent them from burning, which can impart a bitter flavor.
Troubleshooting
- Problem: Crumbs are soggy or chewy.
Fix: The bread was not sufficiently dried before toasting, or the oven temperature was too low. Return the crumbs to the oven at a slightly higher temperature (325-350°F / 160-175°C), spread in a single layer, and toast until dry and crisp, watching carefully to prevent burning. - Problem: Crumbs are burnt on the edges but still soft in the center.
Fix: The oven temperature was too high, or the bread pieces were too small. Reduce the oven temperature and ensure the bread cubes are of a consistent, medium size. If using smaller pieces, toast for a shorter duration and check frequently. - Problem: Crumbs lack flavor.
Fix: The spices may have been added too early and lost their potency during prolonged toasting, or not enough were used. Ensure spices are added in the last 10-15 minutes of toasting or tossed with the crumbs immediately after they come out of the oven. Consider slightly increasing the spice quantities in your next batch. - Problem: Uneven toasting.
Fix: The bread was likely overcrowded on the baking sheet, preventing proper air circulation. Ensure the bread cubes are spread in a single layer with space between them. Stirring the crumbs halfway through the toasting process can also help promote even browning.
Substitutions
- Bread Type: While this recipe calls for general gluten-free bread, you can use specific types like gluten-free sourdough, baguette, or even gluten-free crackers. The result will vary slightly in flavor and texture depending on the original bread’s density and ingredients. Sourdough will impart a tang, while a denser bread might require a longer drying time.
- Herbs and Spices: Feel free to customize the herb and spice blend to your preference. For a spicier kick, add a pinch of cayenne pepper or red pepper flakes. For an Italian flair, increase oregano and basil and add a bit of parsley. For a smoky flavor, smoked paprika is an excellent addition.
- Salt: If you are using a pre-seasoned gluten-free bread or prefer less sodium, you can reduce or omit the salt. Alternatively, consider using flavored salts like garlic salt (reducing the garlic powder accordingly) or onion salt (reducing onion powder).
- Fat for Toasting: While this recipe toasts the bread dry for a lighter crumb, you can toss the bread cubes with 1-2 tablespoons of olive oil or melted butter before toasting for richer, more golden crumbs. This will alter the final texture slightly, making them more tender and less brittle.
Pro tips
- Use day-old or slightly stale gluten-free bread for the best crisping results.
- Ensure bread cubes are completely cooled before processing to avoid gummy crumbs.
- Pulse in the food processor; avoid over-processing into a fine powder unless desired.
- For Italian seasoning, use equal parts oregano and basil, with a touch of garlic and onion.
Improve your gluten-free cooking with these versatile and delicious homemade bread crumbs. Experiment with different seasonings to match your dish!
Try this next: The Best Gluten-Free Banana Bread Recipe
More from Gluten-Free Bread & Baking →
Frequently asked questions
What kind of bread can I use for gluten-free bread crumbs?
You can use any gluten-free bread, including loaves, baguettes, or even stale gluten-free rolls. Ensure the bread is dry, either by air-drying it for a day or two or by toasting it in a low oven until crisp. This ensures the best texture for your bread crumbs.
How do I store homemade gluten-free bread crumbs?
Store your homemade gluten-free bread crumbs in an airtight container at room temperature for up to two weeks. For longer storage, you can freeze them for up to three months. Ensure they are completely dry before storing to prevent clumping or spoilage.
Can I make gluten-free bread crumbs ahead of time?
Absolutely! Making gluten-free bread crumbs ahead of time is a great way to use up stale bread. Once completely dried and processed, store them in an airtight container. They will stay fresh for a couple of weeks at room temperature or longer in the freezer.
How can I make gluten-free bread crumbs crispier?
To achieve extra crispy gluten-free bread crumbs, ensure your bread is thoroughly dried before processing. You can also toast the processed crumbs lightly in a dry pan over medium-low heat for a few minutes until golden and very crisp. Stir frequently to prevent burning.