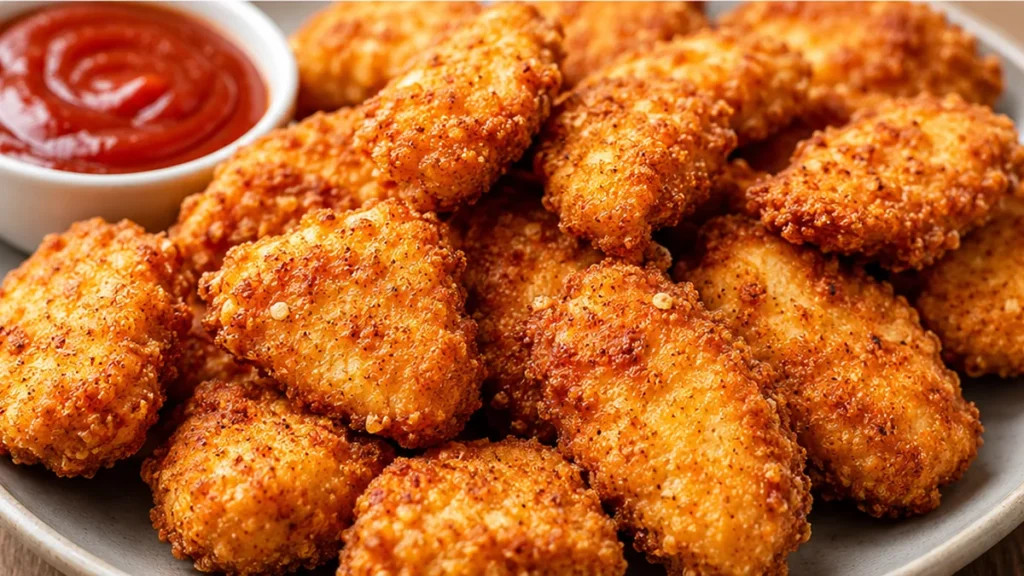
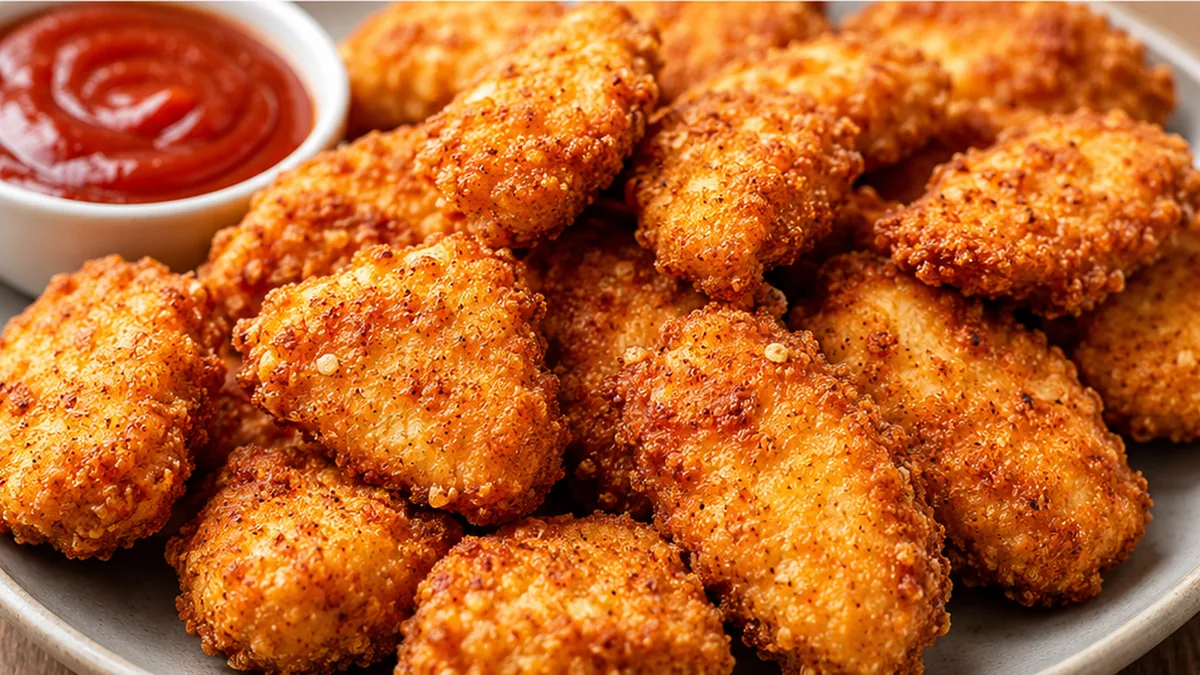
Craving that perfect, crispy, golden-brown chicken nugget but need it to be gluten-free? Look no further than this incredible homemade chicken nugget recipe. Forget the frozen aisle; these nuggets are made with simple ingredients and deliver an unbeatable crunch and juicy interior that everyone will love. This recipe uses a special gluten-free blend to achieve a fantastic coating that holds up beautifully in the oven. Perfect for a quick weeknight dinner, a fun lunch, or even a party appetizer, these chicken nuggets are a guaranteed hit for both kids and adults alike. Get ready to master the art of the homemade gluten-free chicken nugget!
Key takeaways
- The combination of gluten-free flour and Parmesan cheese creates a crispy coating.
- Ensure chicken is dry before coating and press the mixture on firmly.
- Bake in a single layer with adequate space for optimal crispiness.
- Monitor baking time to prevent overcooking and ensure chicken is cooked through.
Crispy GF Chicken Nuggets: Kid-Pleaser!
Ingredients
Method
- Preheat oven to 450°F (230°C). Spray a baking sheet with gluten-free cooking spray.
- In a large plastic storage bag, combine the Bisquick GF mix, Parmesan cheese, paprika, and salt/garlic salt.
- Cut chicken breasts into nugget-sized pieces. An easy method is to cut the breasts in half, then in half again, and then cut those quarters into nugget-sized pieces.
- Place the chicken pieces in a bowl with the lightly beaten egg. Stir until fully covered.
- Add the egg-covered chicken pieces to the plastic bag with the dry mix. Seal the bag and shake until the chicken is fully coated.
- Melt the butter in a small microwave-safe dish. Place the coated chicken nuggets on the prepared baking sheet and drizzle generously with the melted butter.
Notes
– If you don’t have Bisquick GF, a blend of gluten-free all-purpose flour, cornstarch, and baking powder can work as a substitute.
– Serve immediately for the best texture, or reheat briefly in the oven or air fryer. Allergens: Eggs, Wheat. Nutrition information is an estimate, calculated automatically. Values vary with brands, substitutions and portion sizes.
The technique that makes it
The magic behind these crispy gluten-free chicken nuggets lies in the combination of the Bisquick Gluten Free mix and the Parmesan cheese coating. The gluten-free flour blend in Bisquick provides the necessary structure and crispiness without the gluten. When combined with grated Parmesan cheese, it creates a flavorful and remarkably crunchy exterior. The Parmesan not only adds a savory depth but also contributes to browning and crisping due to its fat and protein content. The method of coating the chicken ensures an even distribution of this mixture. First, the chicken pieces are dipped in a slightly beaten egg. The egg acts as a binder, allowing the dry coating mixture to adhere effectively. This step is crucial for preventing the coating from falling off during cooking. The melted butter is then used to moisten the coated chicken pieces before baking. This might seem counterintuitive, but the butter helps to further crisp the coating and adds richness. Baking at a moderate temperature allows the chicken to cook through while the coating achieves a golden-brown, crispy finish without burning. The key is to ensure the chicken is fully coated and the butter is evenly distributed for uniform crispiness.
Troubleshooting
- Failure: Nuggets are soggy. Fix: Ensure the oven temperature is accurate and preheated. Overcrowding the baking sheet can also lead to steaming instead of crisping; bake in a single layer with space between pieces. Increase baking time slightly if needed, ensuring the internal temperature of the chicken reaches 165°F (74°C).
- Failure: Coating falls off. Fix: Make sure the chicken pieces are patted dry before dipping in egg. Ensure the egg wash fully coats each piece, and press the dry mixture firmly onto the egg-coated chicken to help it adhere.
- Failure: Nuggets are dry. Fix: Do not overbake. The chicken breasts should be cut into uniform, bite-sized pieces to ensure even cooking. Monitor closely during the last few minutes of baking.
- Failure: Coating is burnt before chicken is cooked. Fix: Lower the oven temperature slightly (e.g., to 375°F or 190°C) and extend the baking time. Ensure the butter is melted but not browned before tossing with the coated chicken.
Substitutions
- Bisquick Gluten Free mix: You can create a similar gluten-free flour blend using a combination of rice flour, tapioca starch, and potato starch, along with baking powder. However, the specific flavor and texture profile of Bisquick may be difficult to replicate exactly.
- Parmesan cheese: For a dairy-free option, nutritional yeast can be used to provide a cheesy flavor, though the crisping and browning characteristics will differ. Other hard, aged cheeses like Pecorino Romano could also be used for a similar savory profile.
- Paprika: Smoked paprika can be used for a deeper, smoky flavor. A pinch of cayenne pepper can be added for a mild heat.
- Garlic salt: If using regular salt, add ½ teaspoon of garlic powder to the coating mixture for a similar flavor profile.
Pro tips
- For an extra crispy coating, ensure the butter is drizzled evenly over all nuggets.
- If you don’t have Bisquick GF, a blend of gluten-free all-purpose flour, cornstarch, and baking powder can work as a substitute.
- Serve immediately for the best texture, or reheat briefly in the oven or air fryer.
Enjoy these amazing homemade gluten-free chicken nuggets – a healthier, tastier alternative everyone will adore!
Try this next: Crispy Gluten-Free Fried Chicken Recipe
More from Gluten-Free Dinners & Mains →
Frequently asked questions
Can I make these gluten-free chicken nuggets ahead of time?
Yes, you can prepare the nuggets up to the baking stage and freeze them on a baking sheet until solid. Then, transfer them to a freezer-safe bag. To cook from frozen, bake for an additional 5-10 minutes until golden brown and cooked through. This makes busy weeknights much easier.
What’s the best way to reheat gluten-free chicken nuggets?
For the crispiest results, reheat nuggets in a single layer on a baking sheet in a preheated oven or toaster oven at 375°F (190°C) for about 5-10 minutes, flipping halfway through. Microwaving can make them soft, so oven reheating is preferred for texture.
What gluten-free flour is best for chicken nuggets?
A good all-purpose gluten-free flour blend works well for coating these nuggets. Look for a blend that contains rice flour, tapioca starch, and potato starch. You can also use almond flour or a mix of cornstarch and rice flour for a crispier coating.
How do I know when the gluten-free chicken nuggets are cooked?
The nuggets are done when they are golden brown and crispy on the outside, and the internal temperature reaches 165°F (74°C) when checked with a meat thermometer. Ensure they are cooked through to guarantee they are safe to eat.