Imagine a lazy Sunday morning with your favorite coffee and the smell of toast. Add a dollop of homemade cherry preserves on top. It turns simple moments into special memories.
Make this moment yours with our easy cherry preserves recipe. It’s great for breakfast or desserts. You’ll need fresh cherries, sugar, and lemon juice. The joy of making your own preserves is unmatched.
Key Takeaways
- Use 3 cups (566g) of pitted cherries for best results.
- The recipe only requires three main ingredients: cherries, sugar, and lemon juice.
- Cook the preserves for about 45 minutes to achieve a perfect consistency.
- Pitting cherries takes approximately 20 minutes; consider getting a $11 cherry pitter tool.
- Store homemade cherry preserves in the fridge for up to 3 weeks or freeze extra jars for later use.
- Adding lemon juice not only enhances flavor but activates natural pectins in the cherries.
- Enjoy the health benefits of cherries: improved sleep quality, heart health, and antioxidant properties.
Introduction to Cherry Preserves
Cherry preserves add a rich, fruity flavor to your pantry. They make any dish better. Making them at home lets you enjoy them all year and control the ingredients for a healthier option.
Why Make Cherry Preserves
Homemade cherry preserves taste better than store-bought ones. You can use fresh cherries like Bing or Rainier. Plus, you can adjust the sweetness and add spices to your liking.
Benefits of Homemade Preserves
Homemade cherry preserves are healthier because they don’t have preservatives. They’re a great way to use up cherries during peak season. Plus, making them brings a sense of nostalgia and homeliness.
With the right tools and patience, your homemade preserves are perfect for bread and pastries. They also make great gifts. Cherry preserves are a favorite in many kitchens, second only to strawberry.
Choosing the Right Cherries
Choosing the right cherry is crucial for making top-notch preserves. Knowing the types and when cherries are in season can greatly improve your homemade preserves.
Types of Cherries
When it comes to cherries for preserves, it’s all about personal taste. But some types are more popular for their taste and texture.
- Bing Cherries: These are sweet, juicy, and perfect for fresh cherries for jam.
- Black Cherries: Another sweet variety that offers a rich, deep flavor ideal for preserves.
- Sour Cherries: Including varieties like Montmorency, these add a tangy kick and can balance sweetness when mixed with sweet cherries.
Seasonality and Freshness
Cherry season is from late spring to early summer. This is the best time to find the freshest cherries for jam. Using fresh cherries makes a big difference in taste and texture compared to frozen ones.
Here’s an overview of their availability and qualities:
| Cherry Type | Best Season | Flavor Profile | Average Cost per Pound |
|---|---|---|---|
| Bing Cherries | June – August | Sweet, Juicy | $3 – $5 |
| Black Cherries | June – July | Rich, Deep | $4 – $6 |
| Sour Cherries | Late June – July | Tangy, Tart | $3 – $5 |
Harvesting cherries at their peak during cherry season is key. It ensures your preserves taste and feel their best. Using a cherry pitter can also save you time and effort.
For more tips on making your cherry preserves, check out this helpful guide.
Essential Tools and Ingredients
Making tasty cherry preserves at home needs the right tools and ingredients. Having the right equipment makes the process easier and more fun. Here’s what you’ll need.
Tools You Will Need
A cherry pitter tool is key for quickly preparing cherries. It makes pitting easy, so you can start cooking sooner.
- Cherry Pitter: Essential for removing pits, expediting preparation time and ensuring a smooth texture in your preserves.
- Candy Thermometer: To precisely monitor the temperature, ensuring the mixture reaches the optimal 220°F.
- Large Saucepan: Provides ample space to combine ingredients and prevent overflow during cooking.
- Stirring Spoon: Long-handled and sturdy, perfect for consistent stirring.
- Jars and Lids: Ensure they are free of dents or nicks for proper sealing.
- Water Bath Canner: Essential for processing jars to secure a long shelf life.
- Frozen Plate: Critical for testing the readiness of the jam.
Key Ingredients
Choosing the right essential ingredients for jams is crucial for great flavor and texture in cherry preserves. Here’s what you need:
- Cherries: Four pounds of fresh red or yellow cherries, stemmed and pitted.
- Sugar: Two cups plus six tablespoons of granulated sugar ensure the right level of sweetness and preservation.
- Lemon Juice: Two tablespoons of freshly squeezed lemon juice add acidity to balance the sweetness and help with setting.
- Lemon Zest (optional): Adds a fresh, zesty kick to enhance the flavor profile.
- Water: Must cover jars by 1 to 2 inches during simmering to ensure thorough processing.
- Vanilla Bean Paste (optional): Can be added for a delightful cherry vanilla twist.
These kitchen tools for making preserves and ingredients will help you make delicious cherry preserves. You’ll be one step closer to enjoying a homemade treat.
Step-by-Step Cherry Preserves Recipe
Learn to make cherry preserves at home and enjoy summer’s best. This easy recipe guides you through each step. Your jam will be perfectly set and full of fresh, sweet cherry flavor.

Preparation
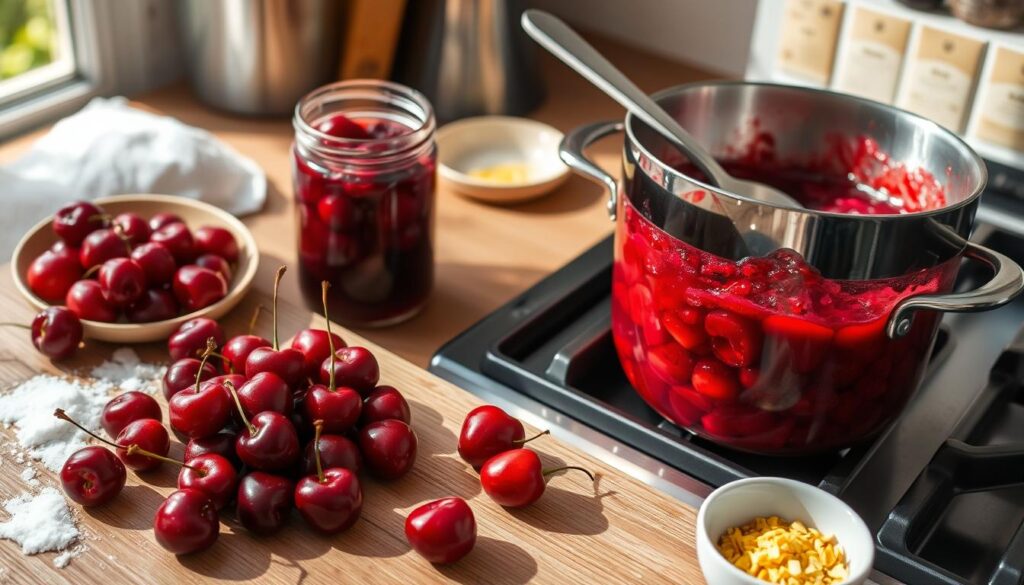
First, gather all the tools and ingredients you need. You’ll require a cherry pitter, preserving pan, digital scale, jam funnel, ladle, and lemon squeezer. Start by pitting 5 cups of fresh sweet cherries, which weigh about 750 grams.
If fresh cherries are hard to find, use frozen ones. Just thaw them slowly with sugar. Next, weigh out 2.5 cups of white sugar (about 500 grams) and 3 tablespoons of fresh lemon juice for extra pectin. You can also add a vanilla bean or extract for more flavor.
Cooking Process
Put the pitted cherries, sugar, and lemon juice in your preserving pan. Heat it over medium, stirring now and then, until it boils. Cook for about 30 minutes, in five 5-minute intervals, to keep the cherries whole.
If you want a firmer jam, add low-sugar pectin. The total cooking time for the jam is usually around 40 minutes.
Testing for Doneness
It’s important to check if your jam is done right. Use the frozen plate test: put some jam on a chilled saucer and let it cool. When it’s cooled, push it gently with your finger. If it wrinkles and feels tacky, it’s ready.
You can also use a candy thermometer. Make sure it reaches 220°F (104°C). When the jam thickens, fill sterilized jars with it. Boil the jars for 5 minutes to sterilize them. Leave about 1/4 inch of space at the top and seal them tightly.
Store the canned jam in a cool, dark place for up to 18 months. Non-canned preserves should be kept in the fridge and eaten within a few weeks.
| Ingredient | Quantity | Notes |
|---|---|---|
| Sweet Cherries | 5 cups (750g) | Use fresh or frozen |
| White Sugar | 2.5 cups (500g) | |
| Lemon Juice | 3 tablespoons | Freshly squeezed |
| Vanilla Bean/Extract | 1 bean/extract | Optional |
| Low-Sugar Pectin | As needed | Optional for firmer jam |
This recipe teaches you how to make cherry preserves easily. Your cooking will yield delicious results every time. Enjoy your homemade cherry preserves on toast, ice cream, or in your favorite recipes.
Tips for Perfect Cherry Preserves
Making perfect cherry preserves is all about finding the right mix of flavors and knowing how to store them. Whether you’re just starting out or want to get better, these tips will help you succeed.
Balancing Sweetness and Tartness
Getting the sweetness and tartness just right is key for tasty cherry preserves. Start by adjusting the sugar and lemon juice based on your cherries’ sweetness. For example, if your cherries are very sweet, use less sugar and a bit more lemon juice.
This balance makes your preserves taste better. To take it up a notch, try adding vanilla extract, cherry brandy, or spices like cinnamon and nutmeg. These can make your jam even more flavorful. For more tips on making cherry jam, consider these small changes to your recipe.
Storage and Preservation
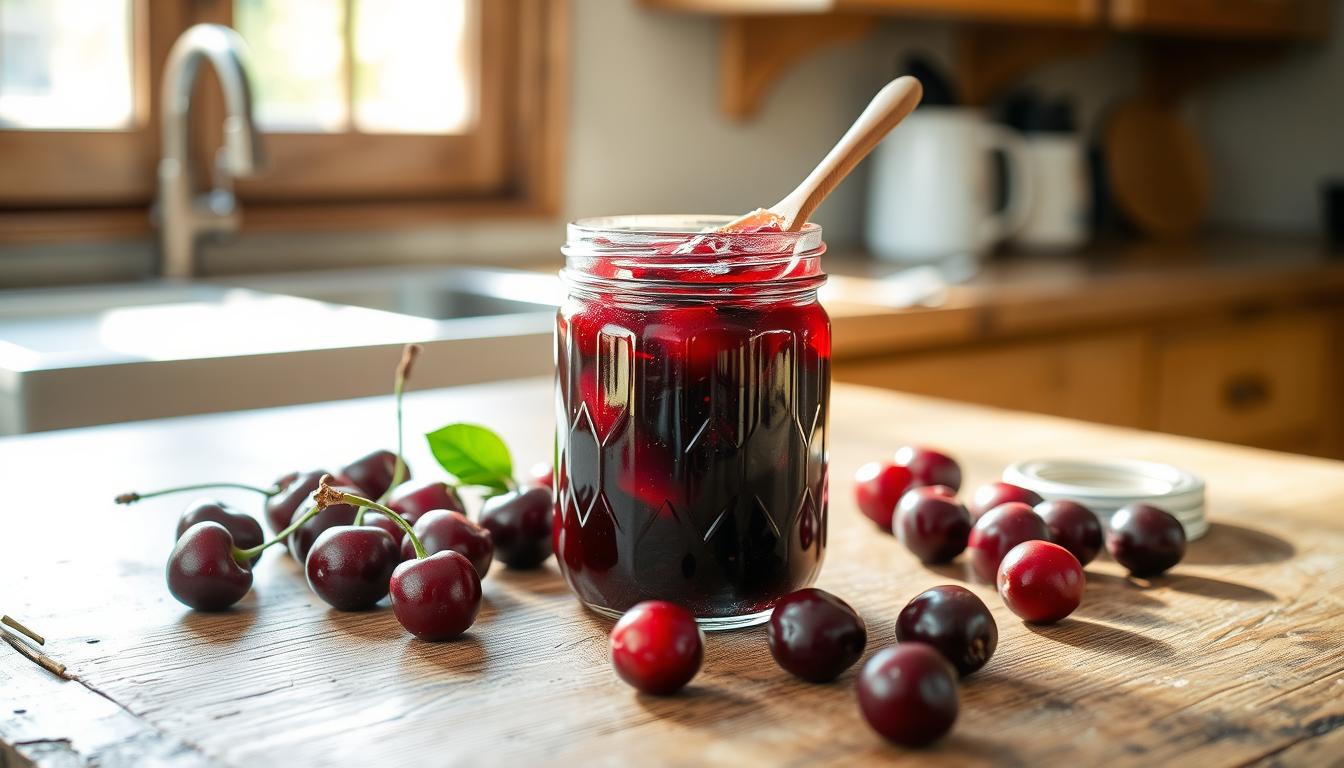
Proper storage keeps your homemade preserves fresh and tasty. After they cool, put them in sterilized jars. You can keep them in the fridge for up to three weeks or use hot water bath canning for up to a year.
If fridge space is tight, freezing is a great option. Pour the cooled preserves into containers made for freezing, leaving some room for expansion. This way, you can enjoy them for up to a year.
Always label your jars with the date and type of preserves. This helps you keep track of how long they’ve been stored and ensures you use them before they go bad.
Remember, the secret to delicious, long-lasting cherry preserves is balancing flavors and proper storage. With these tips, you can enjoy your homemade preserves for a long time.
Creative Uses for Cherry Preserves
Cherry preserves are super versatile and can make many dishes better. They’re great for breakfast, dessert, or even savory meals. You’ll be surprised at how they can make your food taste amazing.
Breakfast Ideas
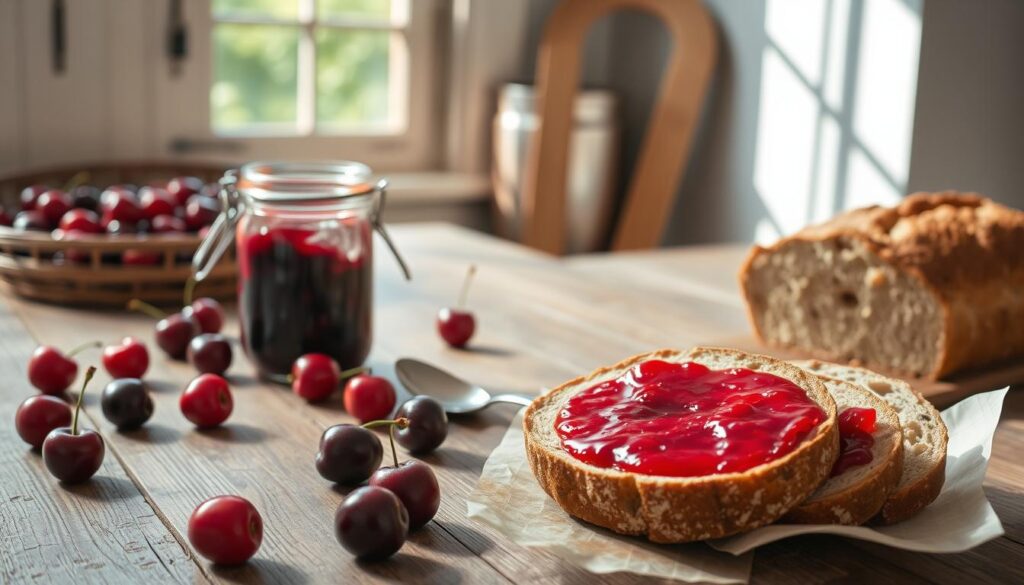
Begin your day with cherry preserves in tasty ways. Spread them on toast, bagels, or English muffins for a quick but yummy breakfast. Mixing them into yogurt or oatmeal adds a sweet twist. Try them as a filling in crepes or pancakes for a weekend treat.
Dessert Toppings
Cherry preserves are perfect as a dessert topping. They go great with ice cream, cheesecakes, and tarts. For a quick dessert, drizzle them over pound cake or vanilla ice cream. You can also mix them into your favorite cherry jam recipes for a special flavor.
Savory Pairings
Cherry preserves are also great for savory dishes. Use them as a glaze for meats like pork or chicken, or in a sauce for a sweet touch. They also make a sweet contrast on cheese boards. These spreads add a fancy touch to any dish.

Adding cherry preserves to your meals opens up many possibilities. For another tasty treat, try this raspberry crumble cookies recipe. You can also use cherry preserves for a different flavor.
Frequently Asked Questions
Making cherry preserves at home raises many interesting questions. Below, we address some of the FAQs on cherry preserves. This helps you navigate common issues and queries most home-cooks encounter.
What cherries are best for making jam? You can use either sweet or sour cherries. Fresh cherries usually provide the best flavor, but frozen cherries work well too. The recipe recommends 2 cups of cherries, whether they are fresh or frozen.
How do I store my homemade cherry jam? Your sweet cherry jam can be stored in the refrigerator in an airtight container for up to two weeks. Additionally, homemade jam can be frozen for up to six months, giving you longer storage options.
What can I do if my jam is overcooked? It’s common to have such cherry jam queries. Overcooked jam can turn very hard. To fix it, you can cook it again with a bit of water, adjusting the texture to your liking.
Can I use lemon juice in my cherry jam? Certainly! Lemon juice aids in the setting process due to its natural pectin content. Incorporating flavors like ginger, vanilla, or citrus juices can also create delightful variations in your jam.
Conclusion
Making cherry preserves is a fun journey that brings both ease and creativity. You start by picking the best cherries and balancing their sweetness and tartness. This leads to a homemade jam that you can be proud of.
Homemade cherry jam lets you enjoy fresh fruit’s true taste. Plus, you can make each batch your own way. The recipe is simple, with a sugar-to-cherries ratio of 3/4. This makes it easy for beginners to get great results.
Just follow the steps: cook the cherries for 20 minutes, then add sugar and cook for another 20. Use the freezer test to check if it’s ready. Your jam will be perfect for breakfast or as a fancy dessert topping.
Feel free to try different cherry types or add your own twist. Making preserves is about enjoying the process and the satisfaction of creating something special. For more ideas, check out this sweet treat on your journey. So, let your creativity shine and make each jar of jam a sign of your cooking skills.

